Easy 7 Step Guide to Replace a Toilet Wax Ring and Prevent Leaks

Discovering water pooling around the base of your toilet can be a frustrating experience. Chances are, the wax ring sealing the connection between the toilet and the floor flange has worn out and needs replacing.
While the idea of tackling a toilet repair might sound daunting, replacing a toilet wax ring is a manageable DIY task that can prevent further leaks and water damage.
In this comprehensive guide, we’ll walk you through the step-by-step process to replace a toilet wax ring to ensure a watertight seal and a leak-free bathroom.
Also Read: 12 Best Kohler Toilets|Update Your Toilet
Content
Tools and Materials Needed:
- Adjustable wrench
- Putty knife
- New wax ring
- New toilet bolts (if necessary)
- Towels or rags
Step 1: Turn Off the Water Supply and Empty the Toilet

- Locate the water shut-off valve behind or near the toilet and turn it off.
- Flush the toilet to empty the tank and bowl.
Step 2: Disconnect the Water Supply and Remove the Toilet
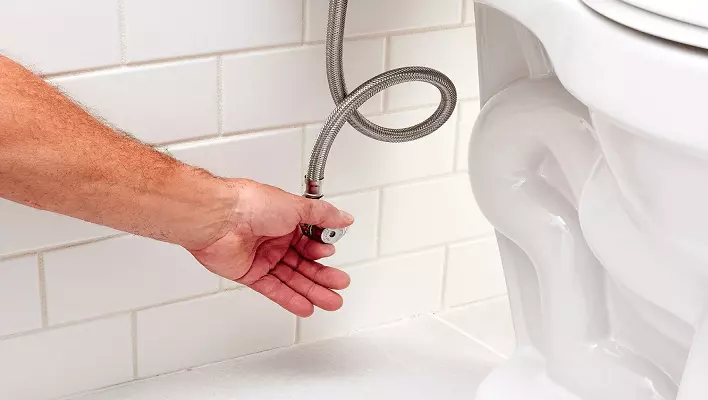
- Use an adjustable wrench to disconnect the water supply line from the bottom of the toilet tank.
- Unscrew the nuts from the bolts securing the toilet to the floor.
- Carefully lift the toilet off the flange and set it on its side on a towel or old rags.
Step 3: Remove the Old Wax Ring and Clean the Flange
- Gently scrape away the old wax ring using a putty knife. Ensure all remnants of the old wax are removed from both the flange and the toilet base.
- Clean the flange thoroughly to create a smooth and clean surface for the new wax ring.
Step 4: Choose the Correct Size Wax Ring
- Measure the flange to determine its height above the floor. If the flange is above the floor, consider using an extra-thick wax ring to ensure a proper seal.
Step 5: Install the New Wax Ring
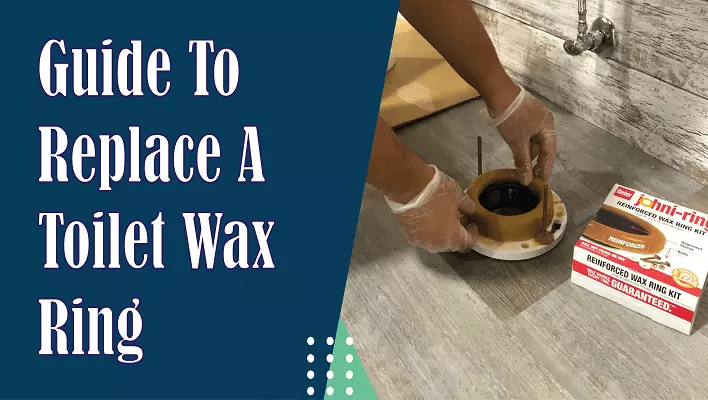
- Place the new wax ring on the flange, making sure it’s centered over the opening.
- Carefully lower the toilet back onto the wax ring, ensuring that the toilet bolts align with the holes in the base.
- Gently press down on the toilet to compress the wax ring and create a secure seal.
Step 6: Reattach the Toilet and Water Supply
- Insert new toilet bolts into the flange holes if necessary.
- Place washers and nuts onto the bolts and tighten them to secure the toilet to the floor. Avoid over-tightening, as this could crack the toilet base.
- Reconnect the water supply line to the toilet tank and turn on the water supply valve.
Step 7: Test for Leaks
- Flush the toilet and watch carefully for any signs of water leakage around the base of the toilet.
- If you notice any leaks, tighten the toilet bolts slightly or adjust the wax ring to create a better seal.
Also Read: How to Fix a Leaky Toilet?
FAQs:
How much does it cost to replace a toilet wax ring?
The cost of a wax ring can vary depending on the brand and quality. On average, you can expect to spend between $10 to $20 for a standard wax ring.
Can I reuse the old wax ring?
Reusing an old wax ring is not recommended. The wax can become brittle over time, leading to leaks. It’s best to use a new wax ring for a secure seal.
In conclusion, replacing a toilet wax ring might seem like a challenging task, but with the right tools and guidance, it’s a manageable DIY project that can save you from the hassle of leaks and water damage.
By following these detailed steps, you can ensure a proper seal between your toilet and the floor flange, preventing future leaks and maintaining a dry and comfortable bathroom.
If you’re ever unsure about any step or encounter complications, don’t hesitate to seek advice or professional assistance for a successful repair. Your efforts will pay off with a leak-free and well-functioning toilet.


