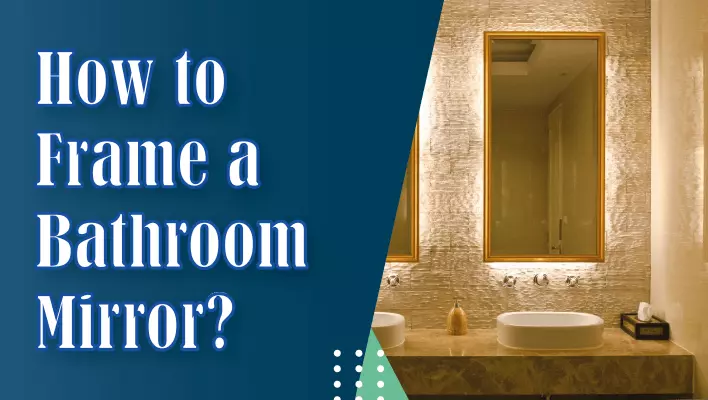
You might be one of those who want to frame your bathroom mirrors. Unframed bathroom mirrors do not look good. However, you can make the bathroom mirrors the most appealing attractive with a little effort and time. You can get professional services for this task. Moreover, you can do DIY projects to frame the bathroom mirrors.
Many people are interested in doing DIY projects to frame their bathroom mirrors. Several steps can help to frame the bathroom mirrors. This guide is about the DIY steps you need to follow to frame bathroom mirrors. So let us get started.
Also Read: How to Remove Mold from Bathroom Ceiling
Content
Get the Right Materials
The first and most important thing you need to consider is to gather the tools and equipment you need to frame the bathroom mirrors. You need to get the framing materials and supplies to complete the DIY project. You cannot complete the project if anything goes missing. These things include
- A level
- A tape measure
- Primed MDF baseboards
- A saw
- Extra strength glue
- Liquid nails
- Caulk gun
- A sandpaper
- Paint
- Paint brush or paint roller
- Painter’s tape
- Tack cloth
You are free to choose the color of the paint. However, you should not use water-based paints. The MDF boards have an absorbent nature. They are more likely to absorb water and moisture, leading to cracked, swollen, and splintered boards. The best you can do is to use oil-based and acrylic paints.
Also Read: Most Powerful Handheld Shower Head
Measure the Mirror for Making a Mirror Frame

The next step is to measure the mirror. You need to measure the mirror along the edge of the mirror. Use the measuring tape to measure the dimensions of the mirror. You need to note the mirror clips and how they have an effect on your frame.
You need to measure the distance between the mirror and the rest of the objects on the walls.
Also Read: How to Install a Toilet
Cut the Board According to the Requirements
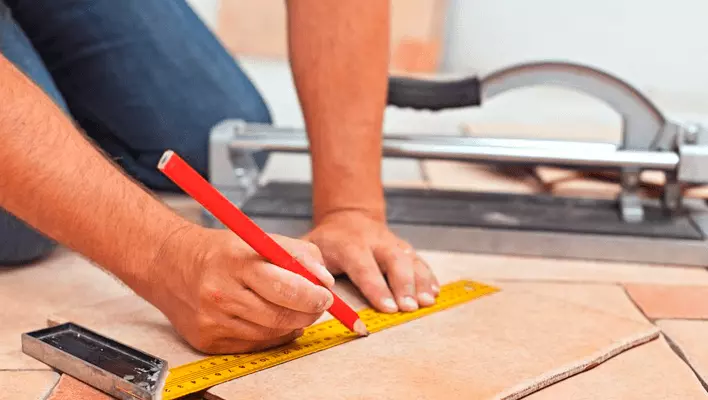
The next step is to use the saw set at a 45-degree angle and cut the board to get the approximate length. You can use some other saws if you do not have a miter saw. After you have done cutting the board, you need to keep the four pieces of the board separate. You will have to install the pieces separately. You can also lay them flat, so you can hang them correctly with a mirror frame.
On the other hand, you can also use non-mitered MDF boards. The DIY frames on the walls require cutting the notch of the bathroom mirror into the wood as it makes the frame sit with the wall. You need to be the most careful when framing your bathroom mirrors. This is how you can create the best DIY projects to frame bathroom mirrors.
Also Read: How to Dissolve Hair in Shower Drain
Paint the Bathroom Mirror Frames, Baseboards
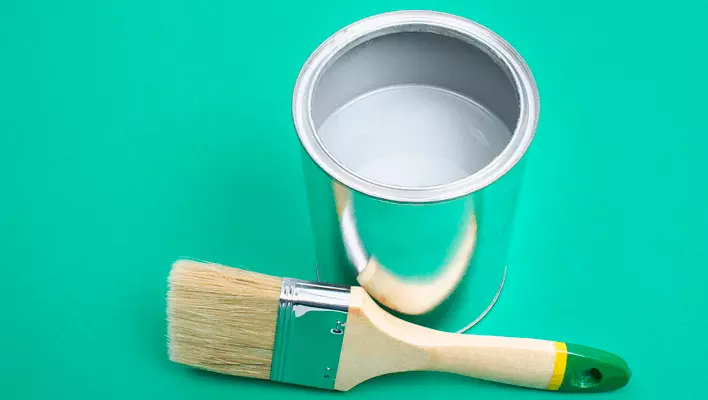
After cutting the baseboards in the required sizes, the next step is to paint the board. This is the most interesting part of the DIY framing project. The best you can do is to coordinate the color with the vanity. After choosing the color, you need to paint the board and all sides using a spray gun, brush, or roller. Make sure the paint is not water-based.
Most importantly, paint the back because it will reflect the mirror. If you think the board needs a second coat, go for it. Let the paint dry for three hours.
Also Read: Best Shower Squeegees
Sand the Bathroom Mirror Frame Baseboards
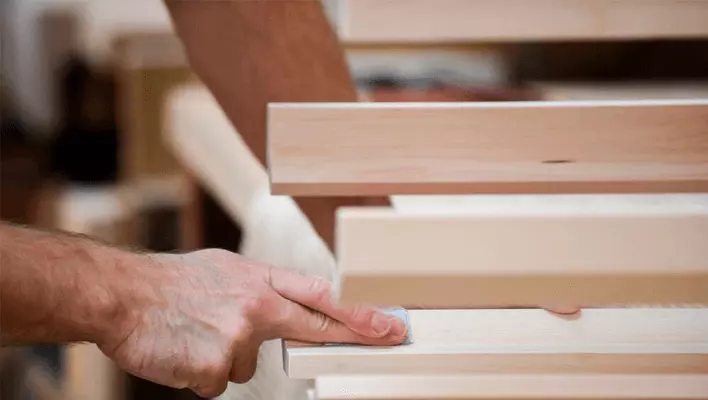
The bathroom mirror’s finishing is one factor that cannot be ignored at any cost. So, after the paint dries, you need to sand the baseboards with fine sandpaper. After sanding the board, you need to wipe the board with a tack cloth.
You may want to apply a sealer or the topcoat at this time. Applying the top coat is necessary, especially when it is a bathroom mirror where water can splash on the mirror. So you need to choose the right topcoat. The polyurethane coat will work the best. You can have options such as high-gloss, semi-gloss, satin, or matte when applying the topcoat.
Moreover, you need to make sure that you are using an oil-based topcoat. It can take longer to dry the polyurethane topcoat to dry. So you will have to leave the mirror for 4-8 hours.
Install the Bathroom Mirror Frame
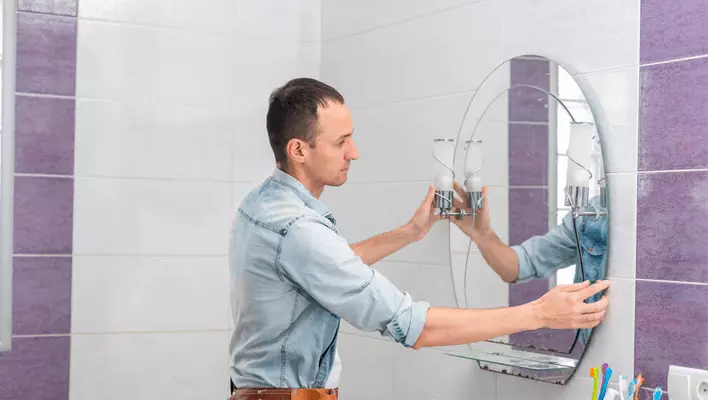
After the top coat dries up, the next step is to install the mirror frame. You need to start with the bottom piece. You need to apply the liquid nails to the back of the baseboard. Make sure that you should avoid the edge that is closest to the mirror. You need to press on the wall or the mirror with the help of the level to ensure the frame is put straight. You can secure it with painter’s tape. This helps in keeping things in place when the glue is drying.
You have to repeat the process by adding the two side pieces and finishing with the top piece. At this point, you need to clean off the excess glue on the mirror or on the wall.
Give Final Touching to the Bathroom Mirror Frame
After the mirror frame is dried completely, you need to remove the painter’s tape and fix the uneven corners with the help of caulk. A caulk gum will remove the gaps between the corners. After things have dried up, you can give the final touch with the paint.
It is the easiest way to frame the bathroom mirror with the help of using MDF baseboards. These are the most easily available materials that you can use. Creative DIY projects are all about creativity. So the best you can do is to take your creativity level to the fullest. These are the most significant things you should know about framing bathroom mirrors. It can be one of the most interesting and creative tasks to decorate and frame bathroom mirrors. So what are you waiting for? Grab the necessary thin
