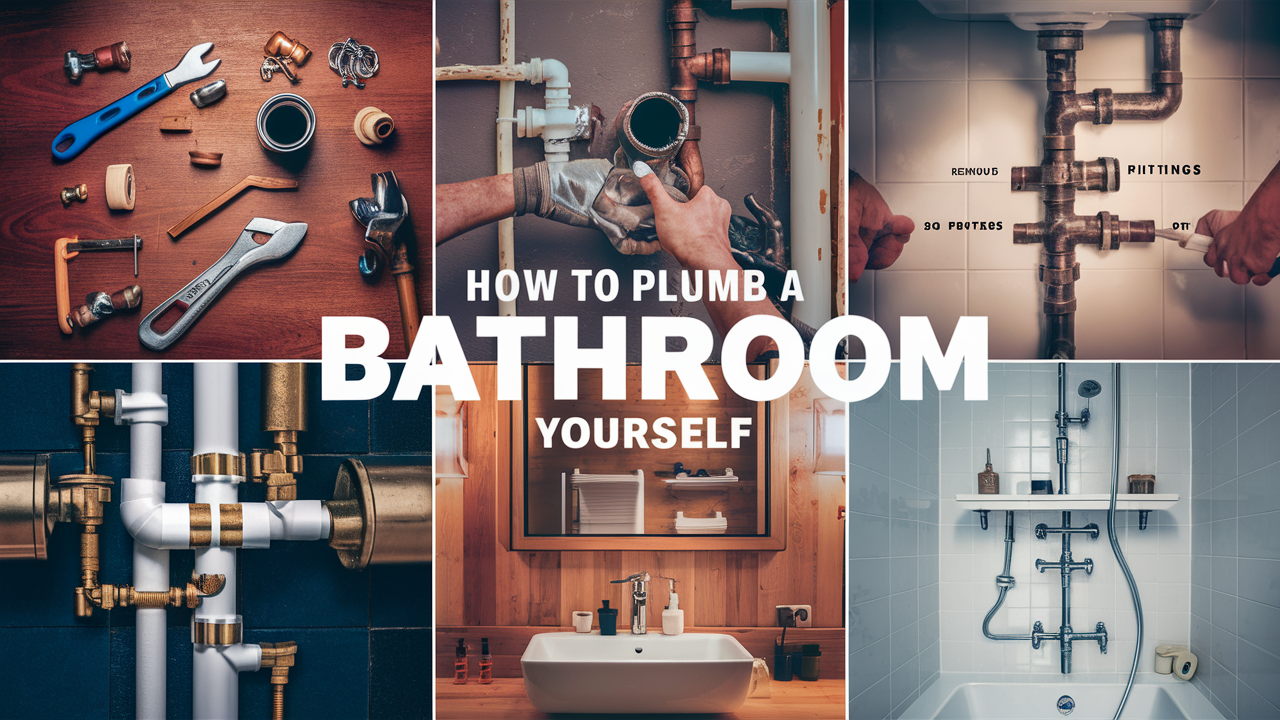
How to Plumb a Bathroom: A Step-by-Step DIY Guide

Plumbing a bathroom is one of the most crucial steps in any home renovation or new construction project. A well-planned bathroom plumbing system ensures proper water flow, efficient drainage, and long-term durability.
Many homeowners wonder: “How to plumb a bathroom myself?” The answer is yes—if you understand the basics of water supply lines, drainage pipes, and venting systems. However, professional guidance is essential for complex installations.
This guide will take you through everything you need to know, including:
- Bathroom plumbing layout planning
- Step-by-step installation of water and drainage pipes
- Essential plumbing components for a leak-free system
- Common mistakes to avoid
Let’s dive into the details!
Content
Can I Plumb a Bathroom Myself?

Yes, you can plumb a bathroom yourself with the right tools, materials, and knowledge of plumbing codes and regulations.
However, there are some key considerations:
- Simple tasks like replacing a faucet or installing a toilet are DIY-friendly.
- More complex tasks, like rough-in plumbing and venting, require experience.
- A permit may be required depending on your local plumbing regulations.
If you’re comfortable working with PVC, PEX, and copper pipes, and you understand how water flows through a drainage system, a DIY bathroom plumbing project is possible. Otherwise, hiring a licensed plumber is recommended for advanced work.
What Are the Basic Steps to Plumb a Bathroom?
A well-designed bathroom plumbing system consists of three main parts:
- Water supply lines (bringing in fresh water)
- Drainage pipes (removing wastewater)
- Vent pipes (preventing clogs and sewer gas issues)
Step 1: Plan Your Bathroom Plumbing Layout
- Sketch a detailed layout of your sink, toilet, and shower/bathtub locations.
- Ensure pipes are routed efficiently and according to code.
- Identify the best location for vent stacks to allow smooth drainage.
Step 2: Gather the Necessary Tools and Materials
- PEX or copper pipes for water supply
- PVC pipes for drains and vents
- Pipe cutter, wrench, and Teflon tape
- DWV (Drain, Waste, and Vent) fittings
Step 3: Install Water Supply Lines
- Use PEX tubing for an easy and flexible installation.
- Connect the hot and cold water lines to their respective fixtures.
- Install shut-off valves to control water flow to each fixture.
Step 4: Set Up the Drainage and Vent System
- Install drain pipes at a proper slope (¼ inch per foot) to ensure smooth wastewater flow.
- Place a P-trap under each sink and shower to prevent sewer gases from escaping.
- Vent pipes must extend above the roofline to maintain proper air pressure.
Step 5: Install Bathroom Fixtures
- Secure the toilet, sink, bathtub, and shower.
- Use plumber’s tape to seal all threaded connections.
- Turn on the water supply and check for leaks.
Step 6: Final Testing and Inspection
- Flush the toilet, run the sink, and turn on the shower to test water flow.
- Look for slow drainage or leaks and make necessary adjustments.
- Ensure the venting system is functioning properly.
By following these steps, you’ll have a fully functional and leak-free bathroom plumbing system.
Can a Shower and Toilet Share the Same Drain?
Yes, a shower and toilet can share the same drain, but proper venting is crucial to prevent clogging and sewer gas buildup.
How It Works:
Both the toilet and shower connect to a main drain line.
A wet vent allows air circulation and prevents siphoning.
The drain pipe should be at least 2 inches in diameter to handle wastewater flow.
Warning: If venting is inadequate, the toilet may cause a gurgling noise in the shower drain due to negative air pressure.
What Plumbing Do You Need for a Bathroom?
A fully functional bathroom plumbing system consists of:
- Water Supply Pipes – PEX or copper for hot and cold water.
- Drain Pipes – PVC pipes for wastewater removal.
- Vent Pipes – Ensure proper air circulation in the drainage system.
- P-Traps – Prevent sewer gases from entering your home.
- Shut-Off Valves – Allow control over individual fixtures.
Each component plays a crucial role in preventing leaks, maintaining water pressure, and ensuring proper drainage.
Bathroom Plumbing Rough-In Dimensions You Should Know
For a smooth and hassle-free installation, follow these standard rough-in measurements:
- Toilet Drain Rough-In – 12 inches from the wall.
- Sink Drain Height – 18-20 inches from the floor.
- Shower Drain Size – 2-inch diameter for fast drainage.
- Vent Pipe Height – At least 6 inches above the highest fixture.
Correct rough-in placement ensures your plumbing system works efficiently and meets building codes.
Common Bathroom Plumbing Mistakes to Avoid
- Incorrect pipe slope – Drains must have a ¼-inch per foot slope for proper flow.
- Ignoring vent pipes – Poor venting leads to slow drainage and bad odors.
- Using undersized pipes – Drain lines should be 2 inches or larger to prevent blockages.
- Skipping a permit – Always check local plumbing regulations before starting a project.
Avoiding these mistakes will save you time, money, and potential plumbing disasters.
Final Checks & Troubleshooting
Before finishing, run through this final checklist:
- Check for leaks – Tighten any loose connections.
- Test water pressure – Adjust valves if needed.
- Run a full drainage test – Ensure wastewater flows smoothly.
- Inspect vent pipes – Confirm proper air circulation.
A well-installed bathroom plumbing system ensures a comfortable, problem-free home.
Conclusion
Plumbing a bathroom is a rewarding DIY project if you plan ahead, follow proper procedures, and use the right materials. By ensuring correct water supply, drainage, and venting, you’ll create a leak-free and efficient plumbing system.
However, if you encounter complicated layouts or unexpected issues, hiring a licensed plumber can save you from costly mistakes.
Now that you know how to plumb a bathroom, are you ready to tackle your own project? Let us know your thoughts in the comments!
Key Takeaways:
- Plan your bathroom plumbing layout before installation.
- Use PEX or copper for water supply and PVC for drainage pipes.
- Ensure proper venting to prevent sewer gas and drainage issues.
- Follow standard rough-in dimensions for accurate placement.
- Test everything before sealing the pipes in place.
By following this step-by-step guide, you’ll successfully plumb your bathroom like a pro!


